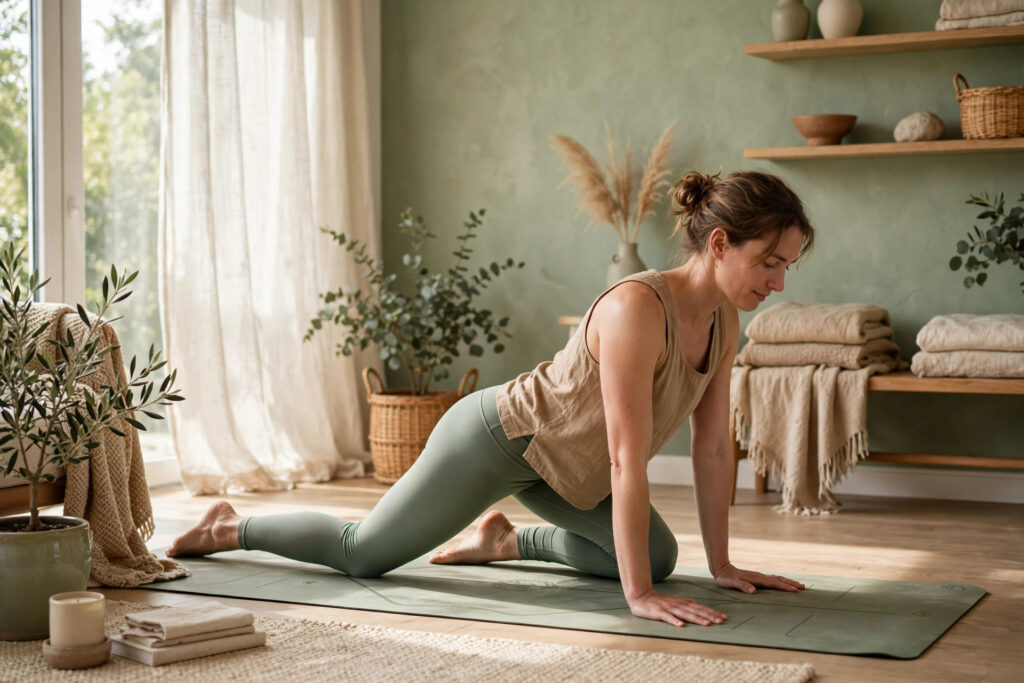
If your hips feel locked after hours at a desk, this gentle yoga flow can help you move again without a studio visit. You’ll open your hip flexors, glutes, and lower back in about twenty minutes, using slow, breath-led movement you can do at home in soft, stretchy clothes.
You know that moment, right? You stand up after a long stretch at your laptop and your first few steps feel stiff, almost creaky. Your hips don’t swing the way they should. Your lower back grumbles too.
This yoga flow was built for exactly that feeling. It’s not a workout in disguise. There’s no rushing, no jumping, and no pose that asks you to fold yourself in half on day one. You warm up, open the front of the hip, work the outer hip and glutes, then slow down. That’s it.
Why sitting leaves your hips cranky
Think about the shape you sit in. Your knees bend. Your hips bend. And then you stay there, sometimes for hours, while your attention lives on a screen somewhere else.
Stay in that shape long enough and the front of your hip feels short and tight when you finally stand. The glutes, meanwhile, haven’t done much at all. They’ve basically had the afternoon off.
So this flow does two jobs. It gives the hip flexors a long, patient stretch. And it wakes the glutes back up with slow, steady work, so your hips feel supported — not just looser. Loose without support doesn’t last. You want both.
Before you start: keep it simple
You don’t need much gear. A mat helps your knees on a hard floor, but a rug or folded blanket works too. Grab a cushion or a thick book — you’ll use it under your hip in a couple of spots.
Wear something that lets you lunge and sit cross-legged without tugging. Soft leggings with stretch, or relaxed shorts, both work. If your top rides up when you fold forward, tuck it in. Small annoyance, easy fix.
- Move slowly enough that you can breathe through your nose the whole time.
- Back off any pose that gives you a sharp, pinching feeling in the hip or knee.
- Don’t force your legs wider or deeper than they want to go today.
- If you’re pregnant, recovering from injury, or managing a hip condition, check with your clinician or a qualified teacher first.
Ready? Clear a little floor space, kick off your shoes, and let your phone sit in another room.
The flow at a glance
- Constructive rest and breath — about two minutes
- Supine figure-four stretch — one minute per side
- Cat-cow and low lunge — about four minutes
- Lizard pose with a gentle twist — one minute per side
- Warrior II to reverse warrior — about three minutes
- Pigeon pose, supported — ninety seconds per side
- Supine twist and happy baby — about three minutes
- Final rest — two minutes, or longer if you’ve got it
Don’t watch the clock too closely. Those times are a guide, not a test. If one side feels tighter, give it a few extra breaths.
Part one: warm up on the floor
Constructive rest and figure-four
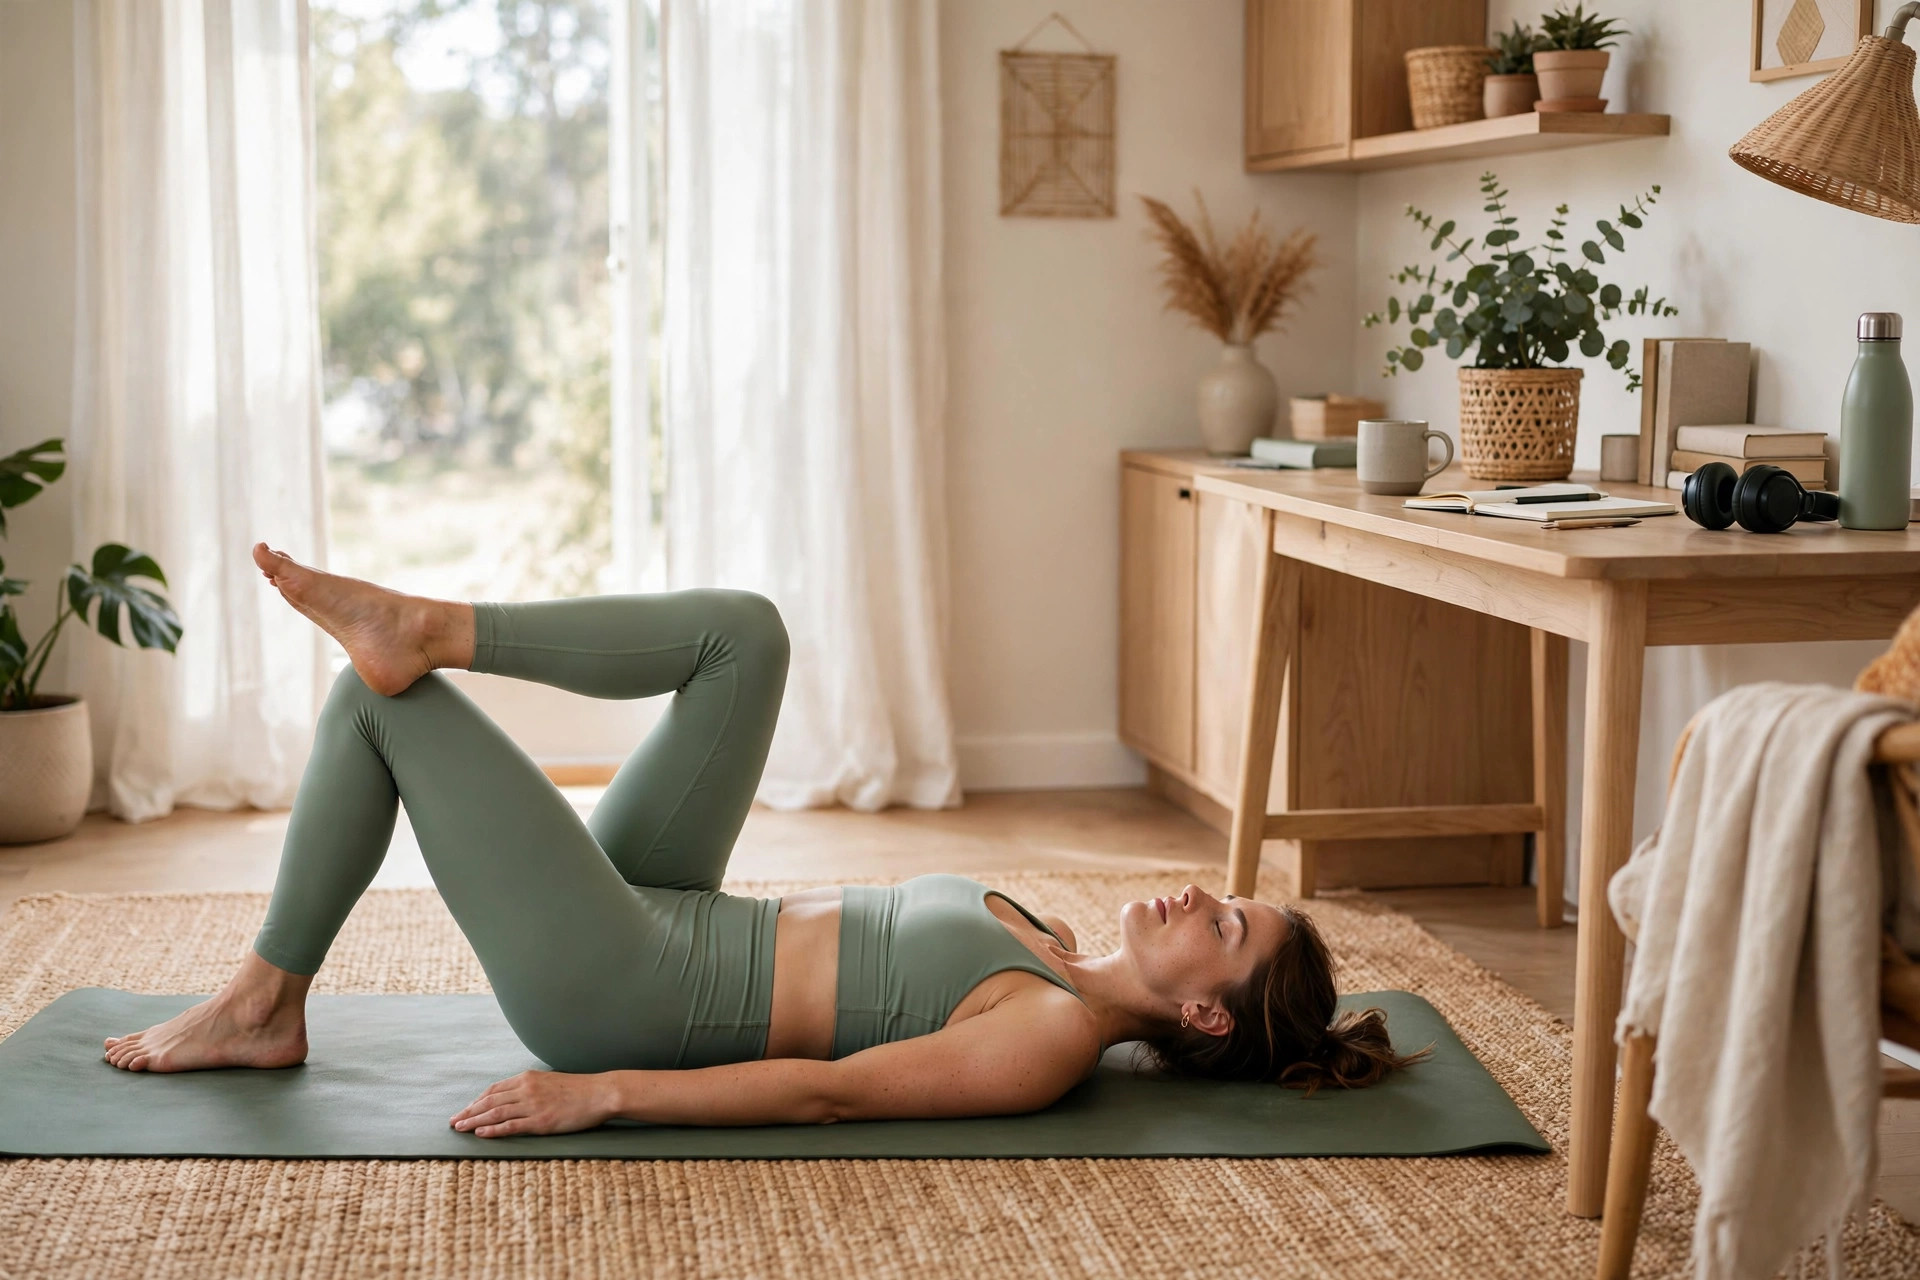
Start on your back. Bend your knees, plant your feet flat, and let your arms rest wherever they land. Don’t arrange yourself. Just arrive.
Take slow breaths and let your lower back feel heavy against the floor. On each exhale, soften your jaw, your shoulders, the muscles around your hips. You’re not stretching yet. You’re just switching gears.
After a minute, cross your right ankle over your left thigh, just above the knee. Flex your right foot. Draw your left thigh gently toward your chest until you feel a stretch deep in your right outer hip.
Too intense? Keep your left foot on the floor and press your right knee away gently instead. You’ll still get the stretch, promise. Hold, breathe, then switch sides — most people have one hip that complains louder than the other.
Cat-cow into a low lunge
Roll to one side and come onto hands and knees. Wrists under shoulders. Knees under hips. Simple.
On an inhale, let your belly drop and lift your chest for cow pose. On an exhale, round your back toward the ceiling for cat pose. Flow between the two, slowly, for six to eight breaths. Let your spine learn that it’s allowed to move again.
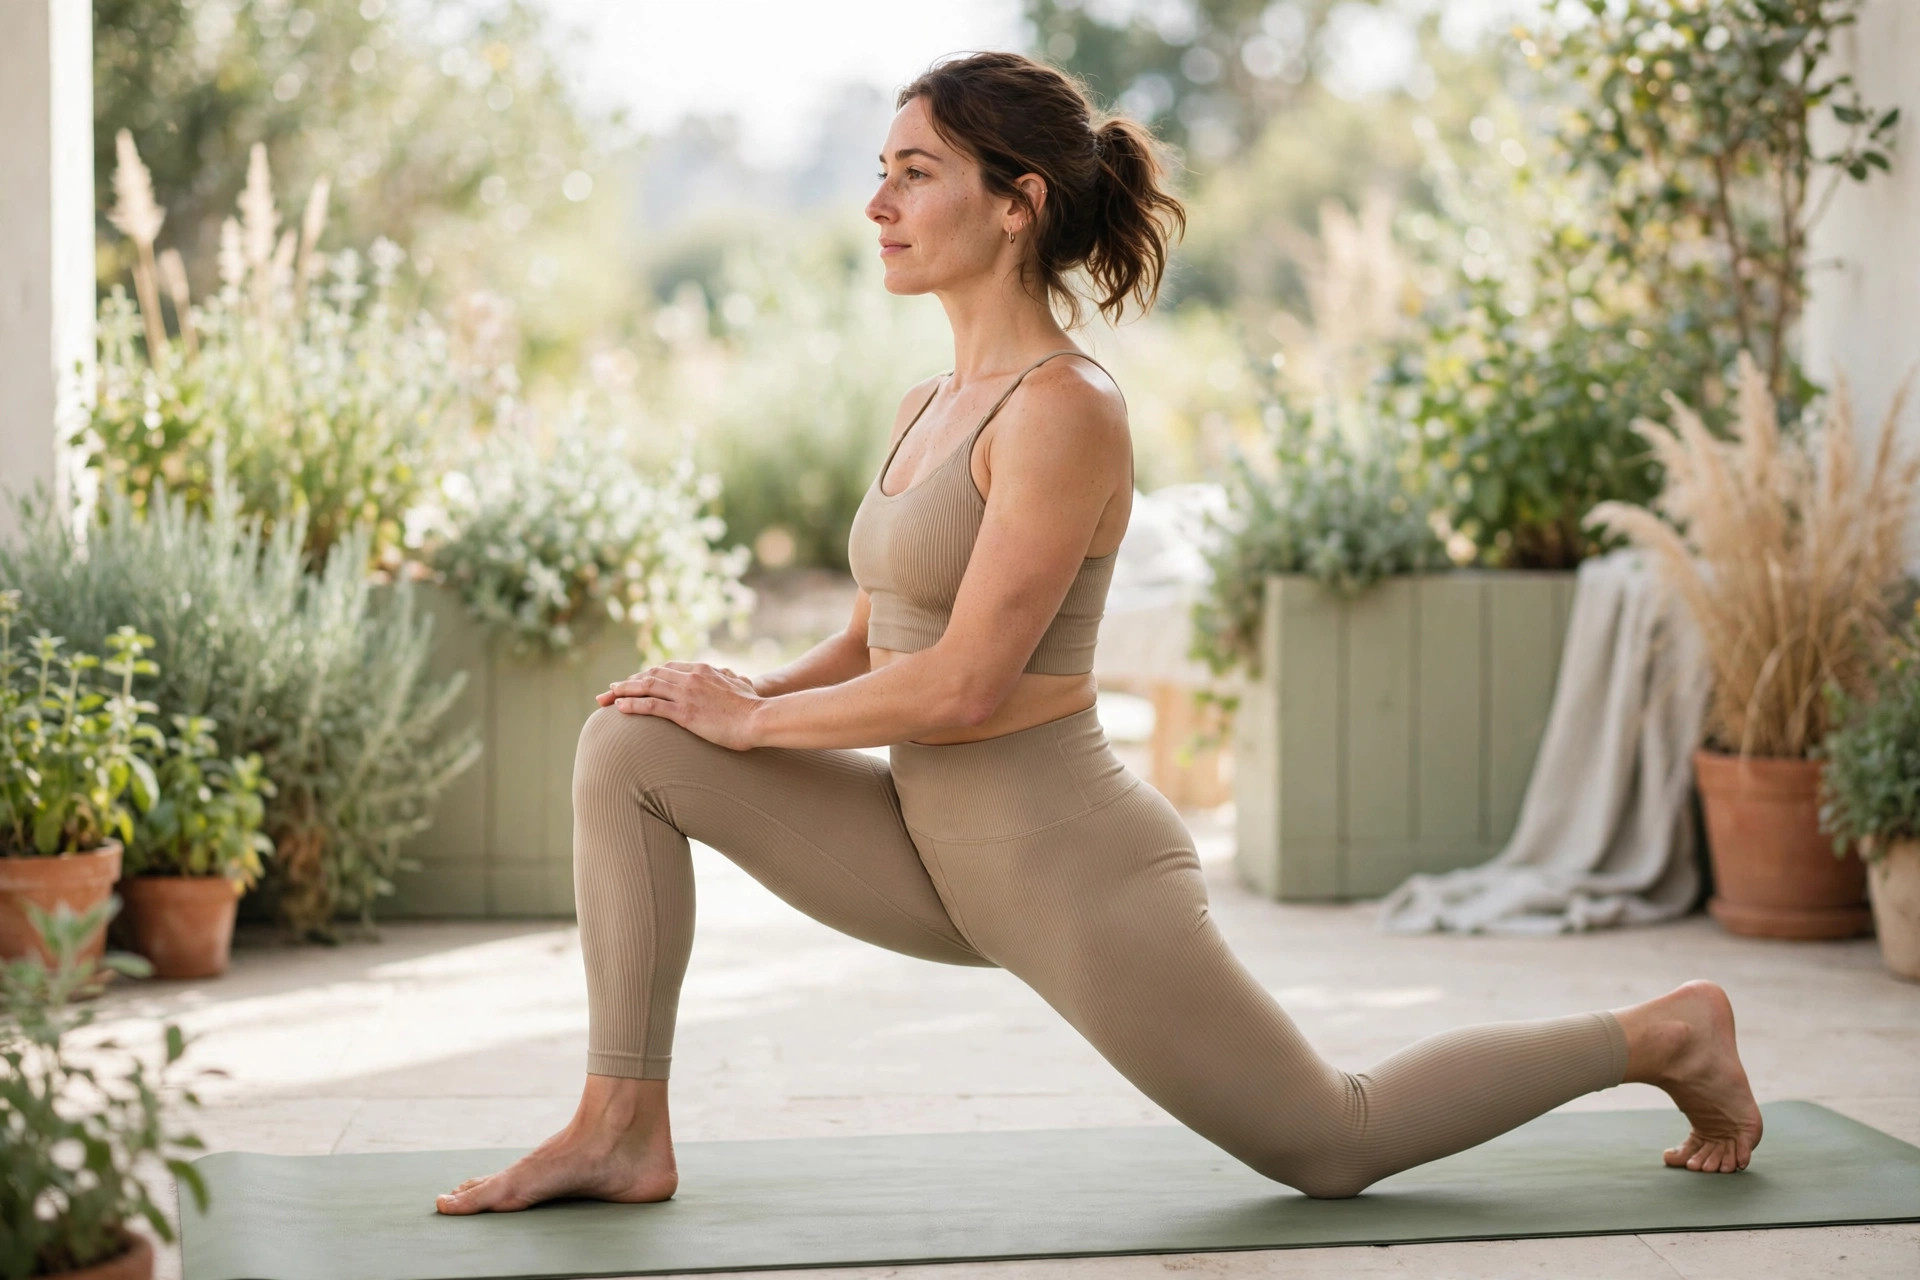
Now step your right foot forward between your hands and slide your left knee back a little. This is your low lunge. Let your hips sink — but only as far as your back thigh gives you a clean stretch, not a pinch in your lower back.
Here’s a trick: tuck your tailbone slightly and squeeze your back glute. Suddenly the stretch lands right where you want it, in the front of that back hip. Stay for five slow breaths, step back, and repeat on the other side.
Part two: open, then strengthen
Lizard pose with a twist
From your low lunge on the right, walk your right foot a few inches to the right. Place both hands inside that foot. Stay up on your palms, or drop to your forearms if your hips allow it and your back stays long.
This one gets deep, fast. So be honest with yourself. If your breath turns ragged, you’ve gone too far — back up a notch and settle there instead.
After a few breaths, add a twist if it feels good. Keep your left hand down, reach your right arm up, and turn your chest toward the ceiling. Hold for three breaths, unwind slowly, and repeat on the left side.
Warrior II to reverse warrior
Now stand up. Your legs have been bent and folded long enough — let them work.
Step your feet wide. Turn your right foot out and your left foot in just a touch. Bend your right knee over your ankle and stretch your arms out at shoulder height for warrior II. Gaze over your front hand, breathe, and feel your standing hip and glutes switch on. They should work a little. That’s the point — the desk switched them off, remember?
After four breaths, flip your front palm and reach that arm up and back for reverse warrior, sliding your back hand lightly down your back leg. Enjoy the long stretch along your side body. Come back to warrior II, straighten the leg, and do the whole pairing on the other side. Shake your legs out between sides. Nobody’s scoring this.
Part three: slow down and let go
Supported pigeon pose
Come back to the floor. From hands and knees, bring your right knee forward toward your right wrist and slide your left leg straight back. Walk your right foot a little left if that feels better on your knee — it usually does.
Check in first. Any sharp feeling in that front knee? If yes, skip this pose and do the supine figure-four again. Same stretch family, much kinder angle.
If your knee feels fine, prop yourself up. Slide your cushion under your right hip if it hovers off the floor, and rest on your forearms or fold forward onto stacked hands. Ninety seconds per side can feel long. That’s normal. Breathe into the outer hip and soften a fraction more on each exhale.
Supine twist and happy baby
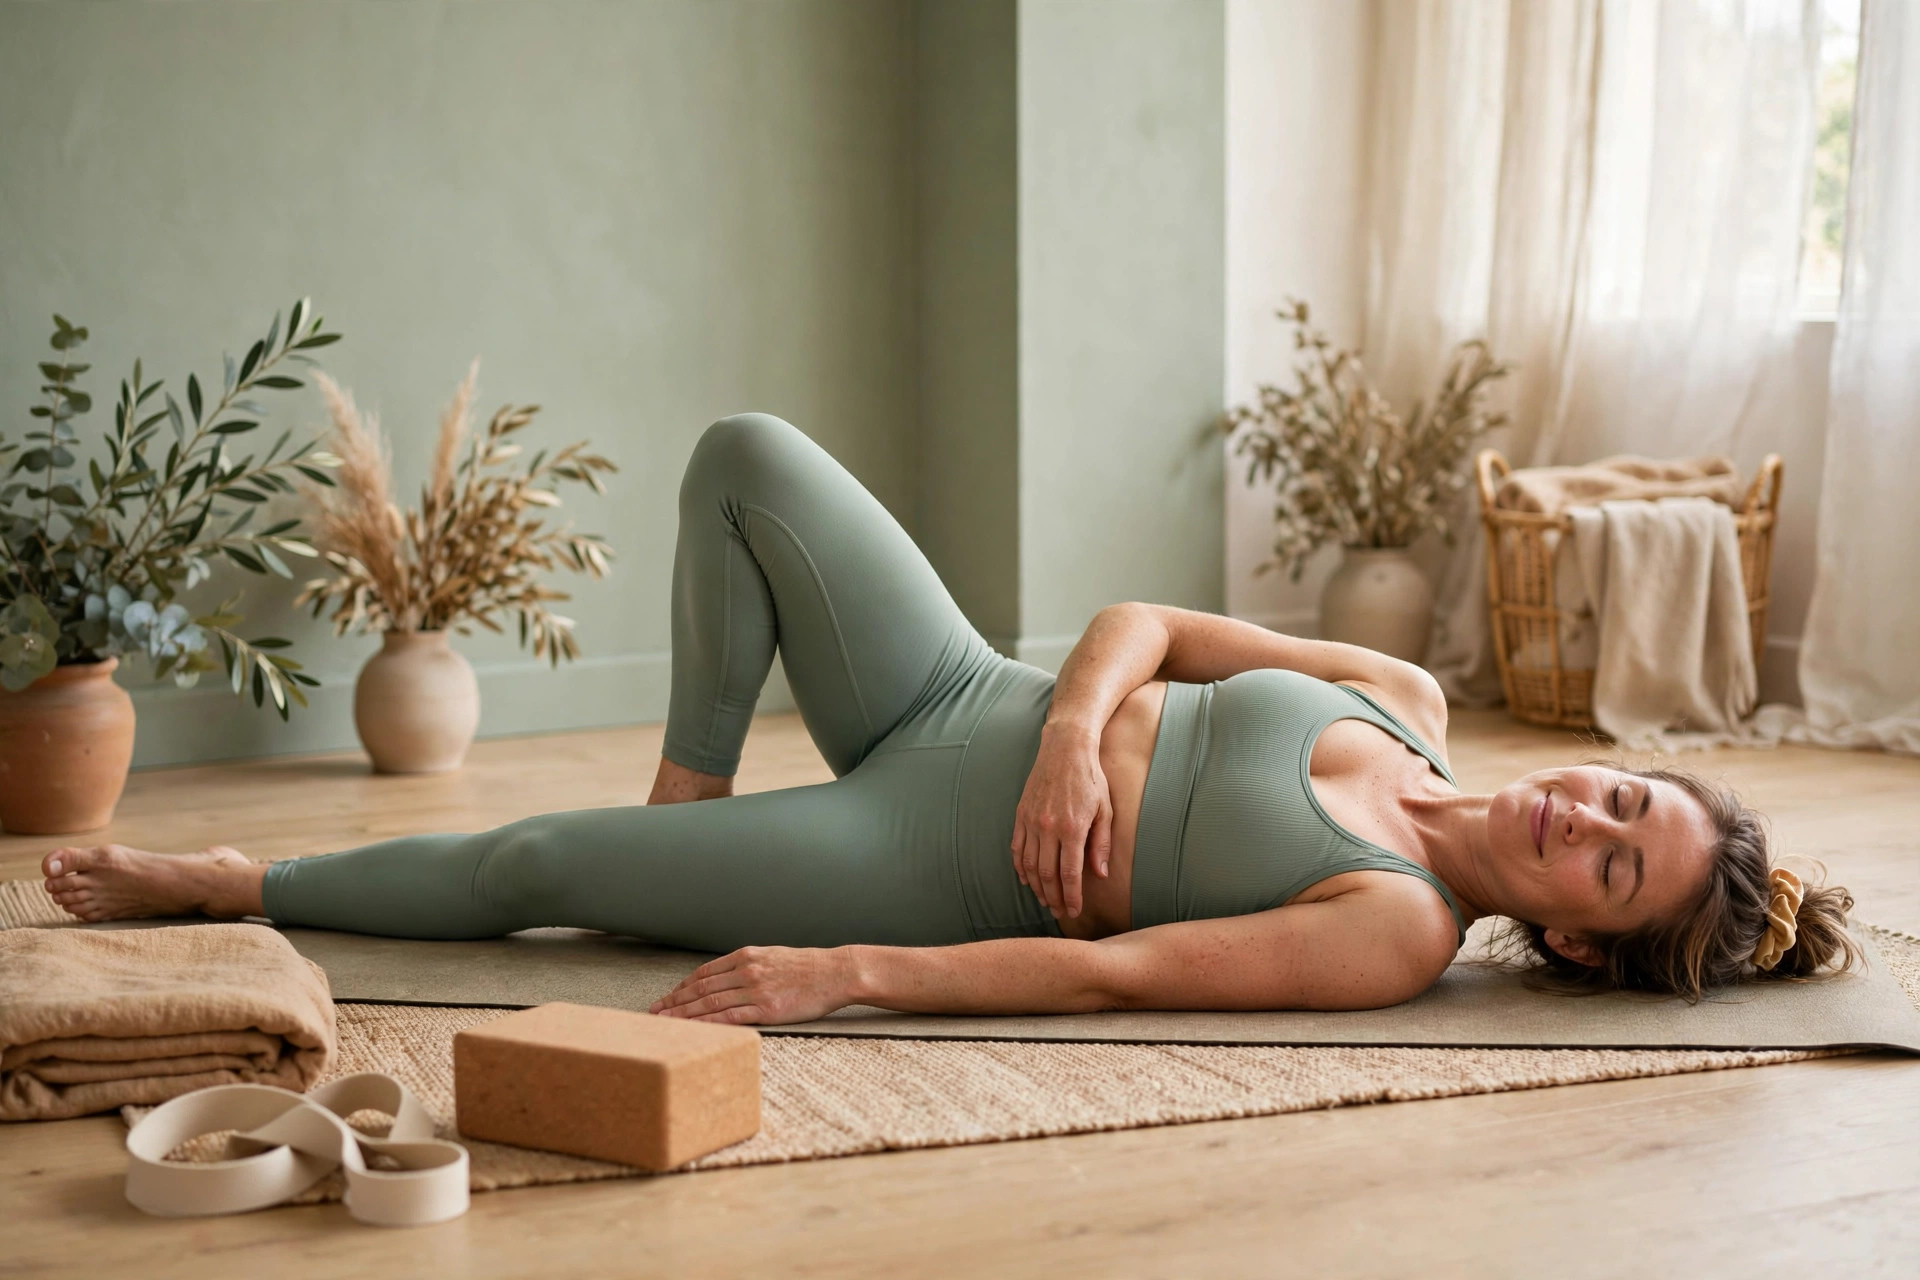
Roll onto your back one last time. Hug both knees in, then drop them over to the left and open your right arm wide. Let gravity do the twisting — don’t crank your knees down with force. After a minute, bring them back to center and take them to the right.
Finish with happy baby. Grab the outer edges of your feet, knees bent toward your armpits, and rock gently side to side. It looks a bit ridiculous. It feels wonderful. Then hug your knees in and rest, legs long and arms loose, for at least two minutes. Don’t rush this part — it’s where your body files the whole practice away.
How often should you do this flow?
Short answer? Little and often beats rare and heroic.
If your hips feel stiff most workdays, try this flow two or three evenings a week to start. On busy days, steal just the middle — the low lunge and figure-four — as a five-minute reset between meetings. It won’t be the full practice, but it’s far better than another hour in the chair.
Notice how you feel the next morning, too. A mild tiredness in your glutes is fine. Soreness that changes how you walk isn’t the goal, so ease off next time.
Frequently Asked Questions
Can beginners do this hip-opening flow?
Yes, if you take the easier options and keep every stretch mild to moderate. Use cushions under your hips, keep your feet on the floor in the figure-four stretch, and skip pigeon pose if your knees are sensitive. Stop any pose that causes sharp or pinching pain.
How long does this yoga flow take?
The full sequence takes about twenty minutes at a relaxed pace, including two minutes of rest at the end. Short on time? Do the figure-four stretch, the low lunge on both sides, and the supine twist for a roughly five-minute version.
What should I wear for a hip-opening yoga flow?
Choose leggings, shorts, or joggers with enough stretch for lunges, wide stances, and cross-legged sitting, plus a top that won’t ride up when you fold forward. Avoid stiff waistbands and seams that dig in during floor poses like pigeon.
Why does one hip always feel tighter than the other?
Most people favor one side in daily life — crossing the same leg, carrying a bag on the same shoulder, standing with weight in one hip — so uneven tightness is common. Start with your tighter side in this flow, and give it a few extra breaths instead of forcing it to match.
Should my hips hurt during pigeon pose?
No. You should feel a strong stretch in the outer hip and glute of the front leg, but never sharp, stabbing, or pinching pain, and never pain inside the knee. If you feel any of that, come out and use the supine figure-four stretch instead.
That’s your reset. Twenty minutes, one mat, no heroics required. Stand up slowly, walk around the room, and notice how different those first steps feel.